
Last updated November 21, 2026
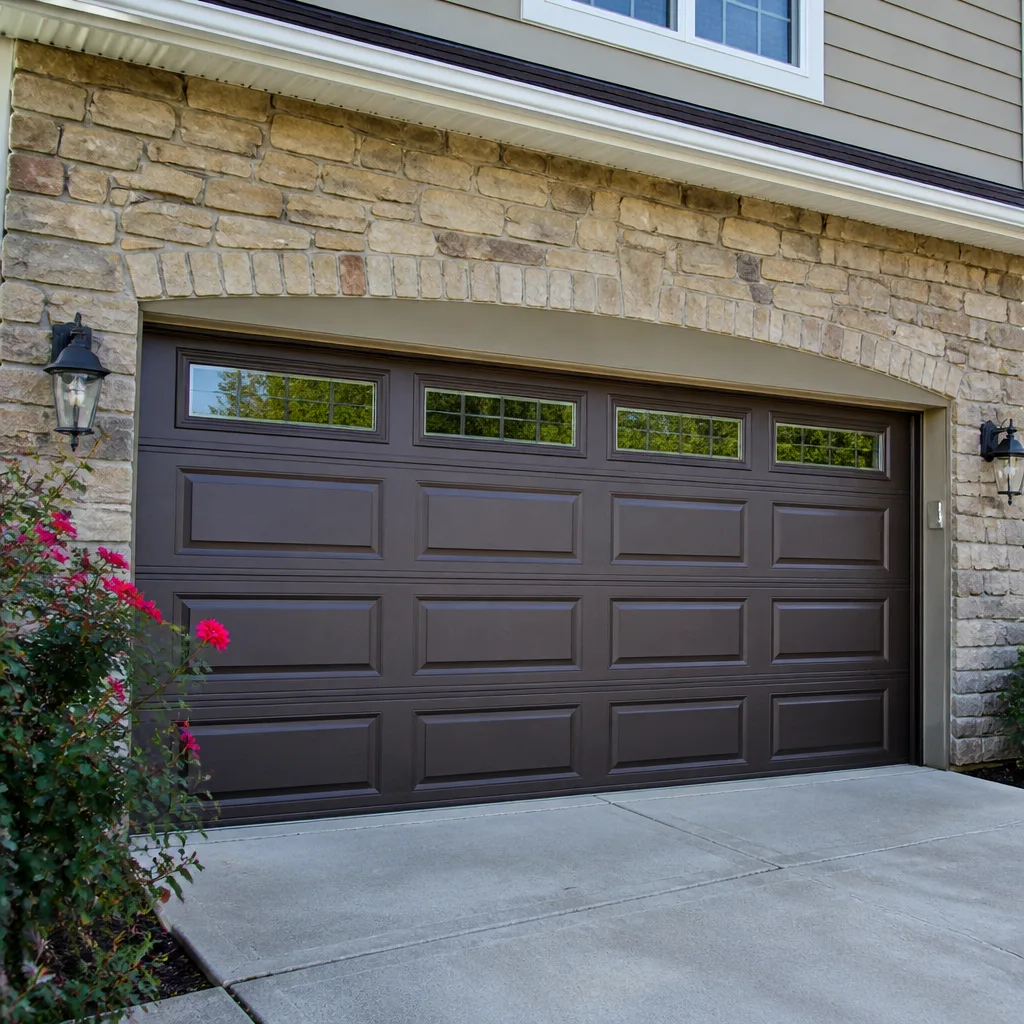 Raised-panel steel
 Carriage house
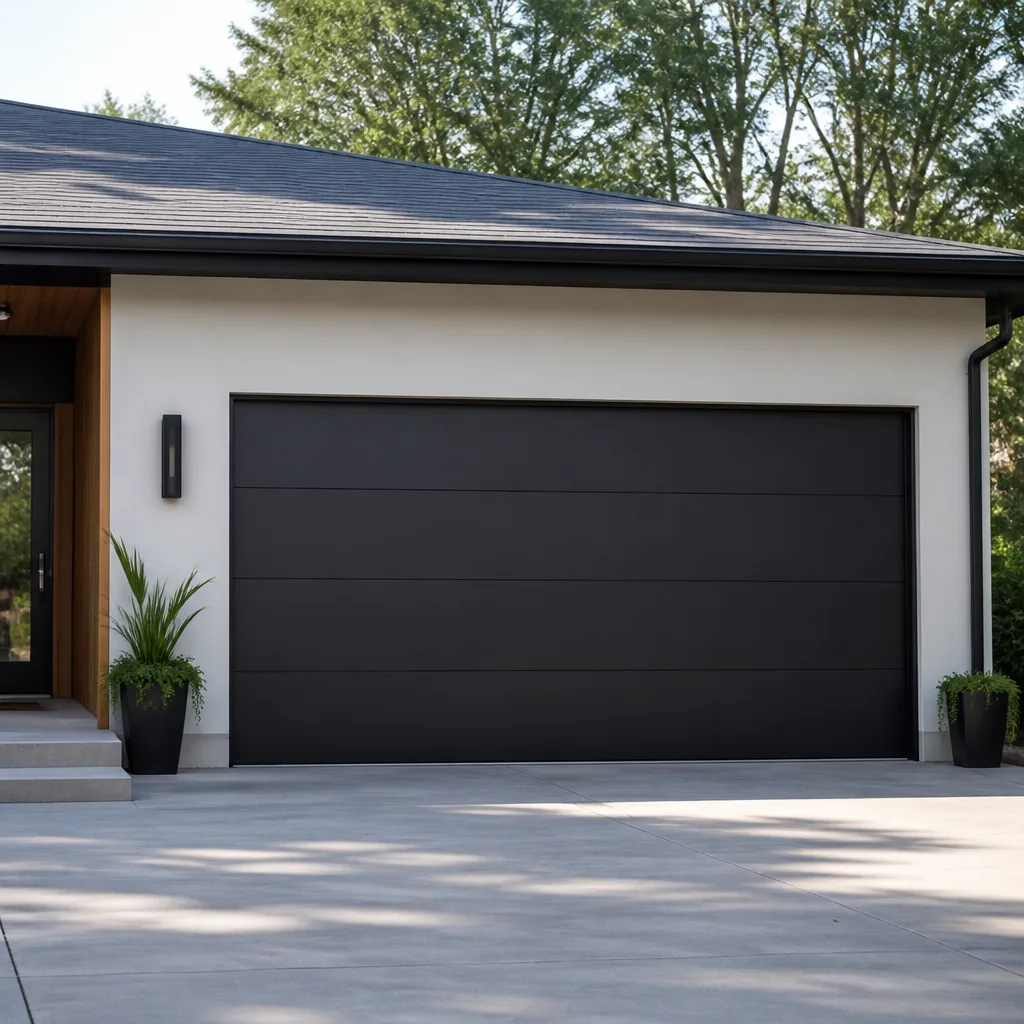 Modern flush
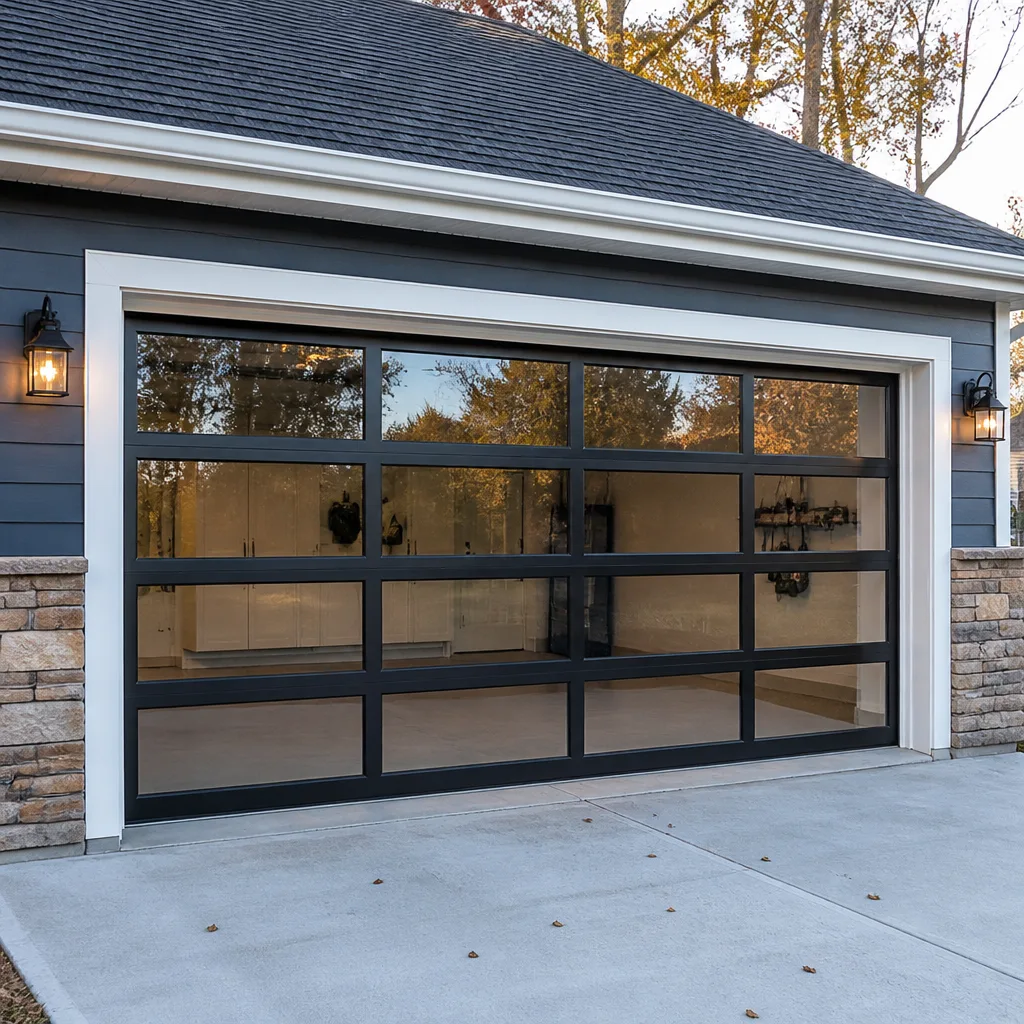 Full-view glass
 LiftMaster openers
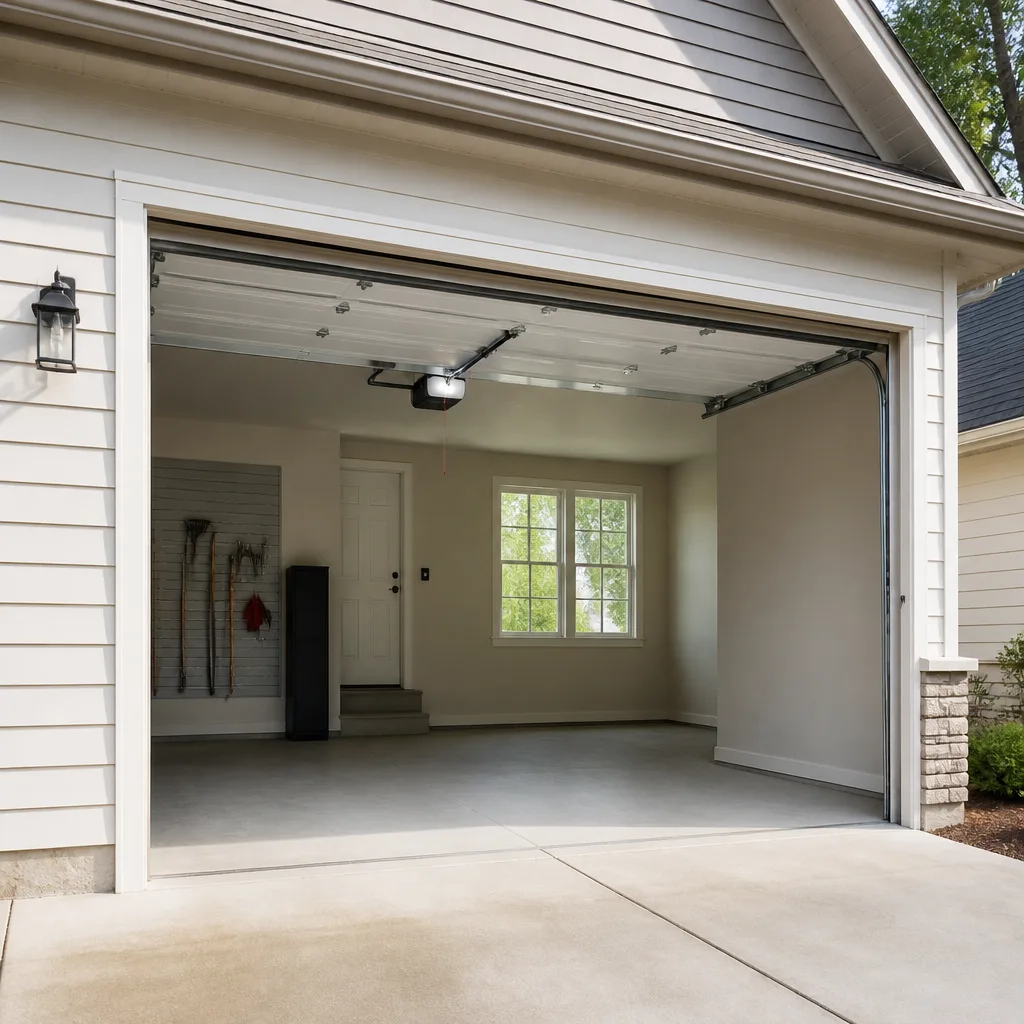 Chamberlain openers
Full 25-point door and opener safety check with every visit - springs, cables, rollers, tracks, and your LiftMaster or Chamberlain opener included
You get a price before we start. It does not change when the pro arrives.
Get your free estimateGarage Door Repair Maintenance Checklist for Vailsburg Homeowners
Most garage door breakdowns aren’t sudden. They build quietly over months: a roller that stops spinning, a cable that frays one strand at a time, a track that drifts a quarter inch out of plumb after a cold snap. By the time the door refuses to close, the warning signs have usually been visible for weeks, and the failure is often more expensive than it needed to be. This guide skips the generic “check your door every spring” advice you’ve already read and gives Vailsburg homeowners a checklist organized by component, not by calendar month. You’ll learn what to inspect, what a pass looks like versus a fail, which tasks are safe to do yourself, and what to document so a technician knows exactly what changed.
Styles & brands we work with
- Raised-panel steel
- Carriage house
- Modern flush
- Full-view glass
- LiftMaster openers
- Chamberlain openers
Quick Answer
A solid garage door maintenance checklist for Vailsburg covers seven components: springs, cables, rollers, tracks, weatherstripping, the opener motor, and the safety sensors. Check the safe parts yourself every few months, leave spring tension and cable adjustment to a technician, and keep a written log of what you see so a pro can diagnose faster. Most serious failures we see trace back to a component that showed a warning sign nobody knew to look for.
Table of Contents
- Why a Component-Based Checklist Beats a Calendar-Based One
- Springs: The Most Dangerous Part of the Door
- Cables: What Fraying Looks Like and Why It Matters
- Rollers: The Cheapest Part to Replace Before It Costs You More
- Tracks: Alignment, Debris, and Vailsburg’s Street-Level Grime
- Weatherstripping and Seals: Water, Wind, and Older Concrete Floors
- The Opener Motor and Safety Sensors
- The Right Lubricants (and the Ones That Make It Worse)
- How to Document Your Door’s Condition Over Time
- Common Mistakes to Avoid
- When to Call a Professional
- Frequently Asked Questions
- The Bottom Line
Why a Component-Based Checklist Beats a Calendar-Based One
A calendar checklist tells you to inspect your door in spring and fall. That’s fine as far as it goes, but garage doors don’t fail on a schedule. They fail when a specific part reaches the end of its life, and that depends on cycles, humidity, debris, and use, not on what month it is. In our experience, a component-based approach catches problems at the source.
Think of it this way. A torsion spring is rated for a set number of cycles, not years. A roller wears out after a certain amount of turning, not after a certain number of seasons. Weatherstripping fails when it’s been compressed and sun-baked enough, which depends on which way your door faces. If you only look twice a year, you could miss a warning sign that shows up in week three and gets worse every day after.
A component checklist means you’re asking specific questions about specific parts: Is the spring showing a gap? Is the cable frayed? Is the roller spinning freely? Are the tracks clean and straight? Each question has a clear pass or fail answer, so nothing slips through the cracks just because it’s not “the right time of year.”
This matters more in Vailsburg than in newer subdivisions. A lot of the housing stock here dates to the mid-twentieth century, which means doors that have been retrofitted, upgraded, and patched over the years. A door might have a newer opener paired with original tracks, or a modern panel on a frame built for something else. A component checklist catches the mismatches a calendar checklist never would.
Springs: The Most Dangerous Part of the Door
Springs are the most dangerous part of any garage door, and they’re the one component you should never touch yourself. Torsion springs store enough energy to cause serious injury in an instant, and the tools required to wind and unwind them are specialized for good reason. If you take one thing from this guide, take this: spring work is a job for a trained technician, no matter how handy you are around the house.
That said, you can and should inspect your springs visually. Here’s what a pass and a fail look like:
- Visual gap: A torsion spring should look like one continuous coil. If you see a visible gap between sections, that’s a fail and a sign of fatigue.
- Coil separation: If the coils have spread apart or look uneven, the spring is losing tension.
- Rust: Surface rust is common; deep pitting or flaking is a fail. Rust weakens the metal and can lead to a break.
- Sound: A sharp bang from the garage, even once, usually means a spring snapped. Stop using the door and call a pro.
- Lift feel: If the door feels much heavier than usual when you disengage the opener and lift it by hand, the spring is likely losing tension. Don’t force it.
For Vailsburg homeowners, there’s an additional factor worth watching. Many garages here sit at or below street level, and that means humidity collects. Springs in a damp garage rust faster than springs in a dry one, so visual checks every few months make a real difference.
If a spring fails, the door becomes unsafe to operate. Call Garage Door Repair Vailsburg to have it looked at the same day.
Cables: What Fraying Looks Like and Why It Matters
Cables do the work of transferring spring tension to the door. They’re under load every time the door moves, and when one fails, the door can drop or twist. Cable adjustment and replacement are technician work, but visual inspection is something you can do safely from the floor.
Here’s what a pass versus a fail looks like:
- Smooth braid: A healthy cable looks like a tight, even braid. Pass.
- Broken strands: If you see individual wires poking out or a “fuzzy” look, that’s a fail. The cable has lost strength.
- Kinks or sharp bends: A kink means the cable has been pinched or overloaded. Fail.
- Rust staining: Brownish streaks on the cable are a warning sign of corrosion. Not an immediate fail, but worth a professional look.
- Loose, slack cable: A cable hanging loose when the door is down is a serious fail. Don’t run the door.
One thing to watch in Vailsburg specifically: the street-level dust and grit that settles in garages here works its way into the cable drums over time. That grit acts like sandpaper and accelerates wear. If your door faces a busy street, inspect cables more often.
Never adjust a cable yourself. A cable under load can snap with enough force to sever a finger, and the geometry isn’t forgiving. If you see a fail, treat it as a call-now situation.
Rollers: The Cheapest Part to Replace Before It Costs You More
Rollers are the wheels that ride along the track. They’re cheap, easy to inspect, and easy to overlook. Replacing them before they fail is one of the least expensive ways to extend the life of a door.
Here’s what to check:
- Spin test: With the door down, try to spin each roller by hand. It should turn freely and smoothly. If it grinds, catches, or won’t turn, it’s worn.
- Flat spots: A roller with a flat spot will thump as the door moves. Listen for a rhythmic noise and look for a wheel that’s worn out of round.
- Cracks or chips: Plastic rollers crack; metal rollers chip. Either failure means replace.
- Loose stem: The roller should sit firmly on its stem. If it wobbles, the stem is loose or the bracket is failing.
- Debris build-up: Hair, grit, and small particles wrap around the stem and slow the roller. Clean and see if it spins freely again before replacing.
Rollers come in several materials, and the choice affects how long they last. Plastic is quiet but wears quickly. Nylon is the standard upgrade for most residential doors. Steel lasts the longest but runs louder. In a damp Vailsburg garage, nylon rollers are usually the best balance of quiet operation and corrosion resistance.
Rollers are a genuinely DIY-safe item for most homeowners, provided you’re just observing and cleaning. Replacement involves removing the door from tension, which is not a DIY job.
Tracks: Alignment, Debris, and Vailsburg’s Street-Level Grime
Tracks guide the door and hold it in alignment. They look simple, but small defects cause big problems: a warped or misaligned track will lift a door off its rollers, damage panels, and stress the opener.
Here’s what to check:
- Straightness: Run your hand along each track (with the door down and the opener disengaged). It should feel straight and smooth. Any dent, bend, or kink is a fail.
- Parallel alignment: Stand back and look. The two vertical tracks should be parallel. If one leans out, the door will bind.
- Bolts and brackets: Track bolts should be snug. A loose bracket lets the track shift over time.
- Debris in the channel: Dirt, leaves, and grit collect in the track and cause rollers to drag. Clear them out.
- Level at the floor: The vertical tracks should meet the floor squarely. A gap lets the door sag.
Vailsburg’s street-level particulate is a specific problem here. This neighborhood has a lot of homes close to the curb, and light traffic, tree pollen, and dust from aging concrete driveways settle in garages quickly. That grime works into the track channel and into roller stems, and over time it accelerates wear on both. In our experience, homes near busier corners or older slabs need track cleaning more often than homes set back from the street. If you can wipe a dark film off the inside of the track with your finger, it’s time to clean.
Cleaning the track is safe to do yourself. Straightening a bent track is not; the geometry controls how the door moves, and a track that’s been forced back into place is rarely brought back to true. If a track is bent, call garage door repair.
Weatherstripping and Seals: Water, Wind, and Older Concrete Floors
Weatherstripping is the rubber or vinyl seal at the bottom of the door, along the sides, and across the top. It’s the part of the door most homeowners forget about completely, and it’s the part that fails first.
Here’s what a pass looks like:
- Bottom seal: The rubber should touch the floor evenly along its full length, with no gaps when you look from the outside.
- Side and top seals: No cracks, no missing pieces, no sagging.
- Flexibility: The seal should flex when pressed. A stiff, cracked, or brittle seal isn’t sealing anything.
- Water test: On a dry day, look for staining on the garage floor just inside the door. If you see it, water is getting in beneath the seal.
Older concrete garage floors are a specific issue in Vailsburg. Many homes here have slabs that have shifted slightly over the decades, which means the floor isn’t perfectly level where the door meets it. A seal that looks fine along most of its length can still leave a half-inch gap at one corner. Take a look from inside the garage with the door closed and a light on outside; the gap will show up immediately.
Replacing a bottom seal is one of the few maintenance tasks most homeowners can handle with basic tools, since it doesn’t involve spring tension or cable load. Side and top seals are similar. If the seal sits at a spot where the concrete is uneven, though, a technician can recommend a threshold seal that bridges the gap.
If your door struggles to close smoothly against an uneven floor, the opener may be compensating more than it should. That’s worth a look from garage door opener repair before the motor wears out.
The Opener Motor and Safety Sensors
The opener is the brain of the system, and there’s a lot you can check yourself without opening anything up. A well-maintained opener outlasts its components; a neglected one forces everything else to work harder.
Here’s what to check:
- Safety sensors: Every modern opener has two sensors near the floor at the door opening. Each has a small LED. If either LED is off or flickering, the sensors aren’t aligned or there’s debris in front of them. Wipe the lenses and check alignment.
- Auto-reverse test: Place a small object (a roll of paper towels works) in the door’s path and close the door. It should reverse immediately on contact. If it doesn’t, that’s a safety fail, and it’s a call-a-pro situation.
- Photo-eye test: Wave your arm through the sensor beam while the door is closing. It should reverse. If not, the sensors need attention.
- Force setting: If the door won’t close without holding the wall button, the force setting may be too low. Don’t adjust it yourself; have a technician check the door’s balance first, since the force setting often masks an underlying mechanical problem.
- Noise: A grinder or whine from the opener suggests worn gears or a failing motor. Listen for changes over time.
- Battery backup: If your opener has one, replace the battery per the manufacturer’s schedule. If it doesn’t, consider whether it matters for your home.
- Remote and keypad: Replace remote batteries yearly. If a remote stops working, try re-pairing it before assuming the opener is at fault.
Brand matters here. Craftsman openers from the 1990s and early 2000s are still common in Vailsburg garages, and they have their own quirks around limit switches and travel adjustment. Current LiftMaster and Chamberlain openers with Wi-Fi and MyQ connectivity have different failure modes entirely, often software or network related. Our technicians are factory-familiar with both generations and with Genie, Raynor, and the rest of the eight major brands, so diagnosis is faster than with a generalist handyman.
If you’re replacing an opener rather than repairing it, we can quote both so you know what the difference costs. That’s part of one company, every part of the door. See garage door installation for what a full replacement involves.
The Right Lubricants (and the Ones That Make It Worse)
Lubrication is where a lot of well-intentioned maintenance makes things worse. Not every product labeled “lubricant” belongs on garage door hardware, and the wrong one attracts dust, gums up rollers, and accelerates wear. Here’s what works and what to avoid.
What works:
- White lithium grease: Good for the opener’s drive screw or chain, where you need a heavier film that stays in place. Apply sparingly.
- Silicone spray: Excellent for the tracks, rollers, and hinges. It dries without a sticky film and doesn’t attract debris.
- Garage door-specific lubricants: Some manufacturers make a spray designed for torsion springs. If you’re using one, check that it’s silicone-based, not oil-based.
What to avoid:
- WD-40 and general-purpose oil: These are solvents with a light oil component, not long-term lubricants. They attract dust and can gum up rollers. Don’t spray them on the tracks.
- Heavy motor oil: Attracts every bit of grit in the air and turns the track channel into a sticky strip that collects debris faster.
- Grease on tracks: Heavy grease is the wrong choice for tracks. It holds dust in place and can slow the rollers.
Vailsburg’s street-level grime makes this more important than in a quiet rural setting. Anything sticky will collect the dust that’s in the air here. Silicone spray is the better default for most exterior-facing hardware.
One rule: never lubricate the springs themselves with anything except a silicone-based product designed for them. The wrong lube can attract enough debris to pit the metal.
How to Document Your Door’s Condition Over Time
One of the most useful and least common habits in garage door maintenance is keeping a simple log. It costs you five minutes every few months and it changes how fast a technician can diagnose a problem.
Here’s what to record:
- Date of each inspection. Just the date, nothing more.
- Component-by-component notes. “Rollers: two now showing flat spots.” “Cable: slight rust staining, left side.” “Springs: no gap.”
- Photos. One photo of each spring, each cable end, the bottom seal, and the opener label. Store them in a folder on your phone.
- Noise or behavior changes. “Door now thumps at the top when closing.” “Opener sounds louder since last check.”
- Any repairs, adjustments, or replacements. What was done, and by whom.
- Lubrication dates. What product you used where.
When a technician arrives, hand over the log and photos. If something seems wrong, the technician can compare against a known baseline from six months ago. That turns a vague “it feels off” into a specific starting point, and it usually saves you time on the visit. In our experience, doors with a documented history are easier to maintain and easier to diagnose, because the “normal” state is written down.
If the door ever needs a full replacement, that log becomes the basis for a detailed replacement conversation. Manufacturer choice matters here too: Clopay, Amarr, Wayne Dalton, and others each offer different profiles that fit older homes in Vailsburg differently. A log helps you make the call deliberately instead of replacing reactively.
Common Mistakes to Avoid
- Forcing a heavy door open and closed. If the door feels heavy, the spring is losing tension. Every time you force it, you stress the opener and the rollers further. Stop running it and have it looked at.
- Spraying WD-40 on the tracks. It feels like lubricant, but it attracts dust and gums up rollers. Use silicone spray instead.
- Adjusting the opener’s force setting to fix a door that won’t close. The force setting is a safety mechanism; overriding it to compensate for a mechanical problem masks the issue and defeats the safety system.
- Ignoring the auto-reverse test. If your door doesn’t reverse when it hits an object, that’s a safety failure. It doesn’t get better on its own.
- Assuming a light thump is nothing. A thump usually means a flat-spotted roller. It’s the cheapest fix on the checklist and one of the complaints we hear most often after it’s been ignored for months.
- Skipping track cleaning because the door seems to work. Vailsburg’s street-level dust builds in the track channel gradually. By the time it causes binding, it’s already accelerated roller wear.
- Treating spring work as a DIY job. Even with the right tools, winding a torsion spring is unsafe without training. This is the one task on the checklist that always goes to a technician.
When to Call a Professional
Call a professional whenever the problem involves spring tension, cable load, or a bent track. Those three components carry the highest injury risk and the highest risk of making a small problem bigger. Also call if the door reverses on its own, won’t close without holding the wall button, or if a panel has been hit or bent. Those are signs of a structural or safety issue rather than a maintenance gap. And if the door is stuck open with a car inside or a house left unsecured, treat it as an emergency rather than a scheduled visit.
Garage Door Repair Vailsburg offers free estimates in Vailsburg. Our technicians have up to 8 years of experience with LiftMaster, Chamberlain, Genie, Clopay, Amarr, Wayne Dalton, Craftsman, and Raynor equipment, and we handle repair, opener service, installation, and spring replacement as one service. Call (877) 331-4152. We answer 24/7. Fast dispatch from 7am to 7pm, Sunday through Friday, closed Saturday.
Frequently Asked Questions
Check the safe, DIY-inspectable components (rollers, tracks, weatherstripping, safety sensors, cables) every three to four months, and leave spring and cable work to a technician. In a damp Vailsburg garage, three months is a safer interval than the six-month schedule most generic advice recommends, because humidity accelerates rust and street-level dust speeds up roller wear. Call (877) 331-4152 for an exact quote on any maintenance or repair – estimates are free.
Yes. A torsion spring stores enough force to cause serious injury in an instant, and the specialized winding tools exist for that reason. This is the one part of the maintenance checklist that always goes to a trained technician, no matter how handy you are. Call (877) 331-4152 if a spring has failed or looks fatigued.
Use silicone spray for tracks and rollers and white lithium grease for the opener’s drive screw or chain. Avoid WD-40, general-purpose oil, and heavy grease on the tracks. Those attract dust and can gum up the rollers, which speeds up wear rather than preventing it. Call (877) 331-4152 if you’re not sure what to use.
Probably not – a thump usually means one or more rollers has a flat spot, which is one of the cheapest parts on the door to replace. It’s worth addressing before the flat spot starts straining the track or the opener. Call (877) 331-4152 to have it checked.
We work on all eight major brands, including the older Craftsman units common in Vailsburg and the current Wi-Fi-enabled LiftMaster and Chamberlain models. Diagnosis tends to be faster on a brand we know well than on a generalist handyman’s first visit. Call (877) 331-4152 for an exact quote on repairs.
Street-level particulate from curbside traffic, pollen, and aging concrete driveways settles into garages quickly in this neighborhood. That grime works into the track channel and roller stems, accelerating wear faster than in homes set back from the street. Cleaning tracks every few months helps, and so does sticking with lubricants that don’t attract debris. Call (877) 331-4152 if the door is binding or slow.
The Bottom Line
A garage door maintenance checklist works when it’s organized by component, not by month. Springs and cables are technician-only; rollers, tracks, weatherstripping, and safety sensors are safe to inspect and clean yourself. Vailsburg’s damp garages and street-level grime accelerate wear on both tracks and rollers, so check them more often than generic schedules suggest. Keep a simple log with photos, use silicone spray on tracks, avoid WD-40 and heavy grease, and replace rollers before they start dragging the rest of the door with them. Every repair and installation is quoted and agreed before any work starts, and the written estimate sets the final price. When something needs a pro, one call gets the whole door covered.
Call (877) 331-4152 for a free estimate. We answer 24/7. Fast dispatch from 7am to 7pm, Sunday through Friday, closed Saturday.
Written by the team at Garage Door Repair Vailsburg.
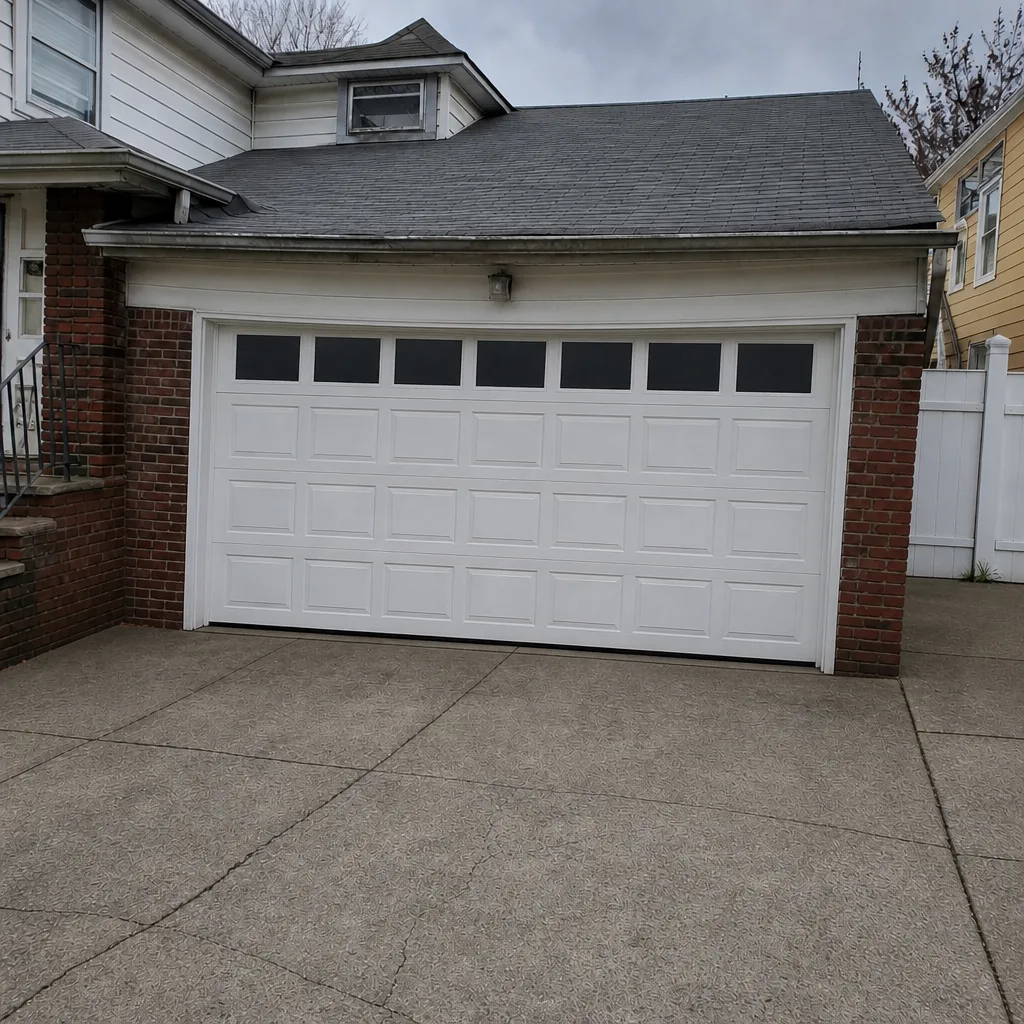
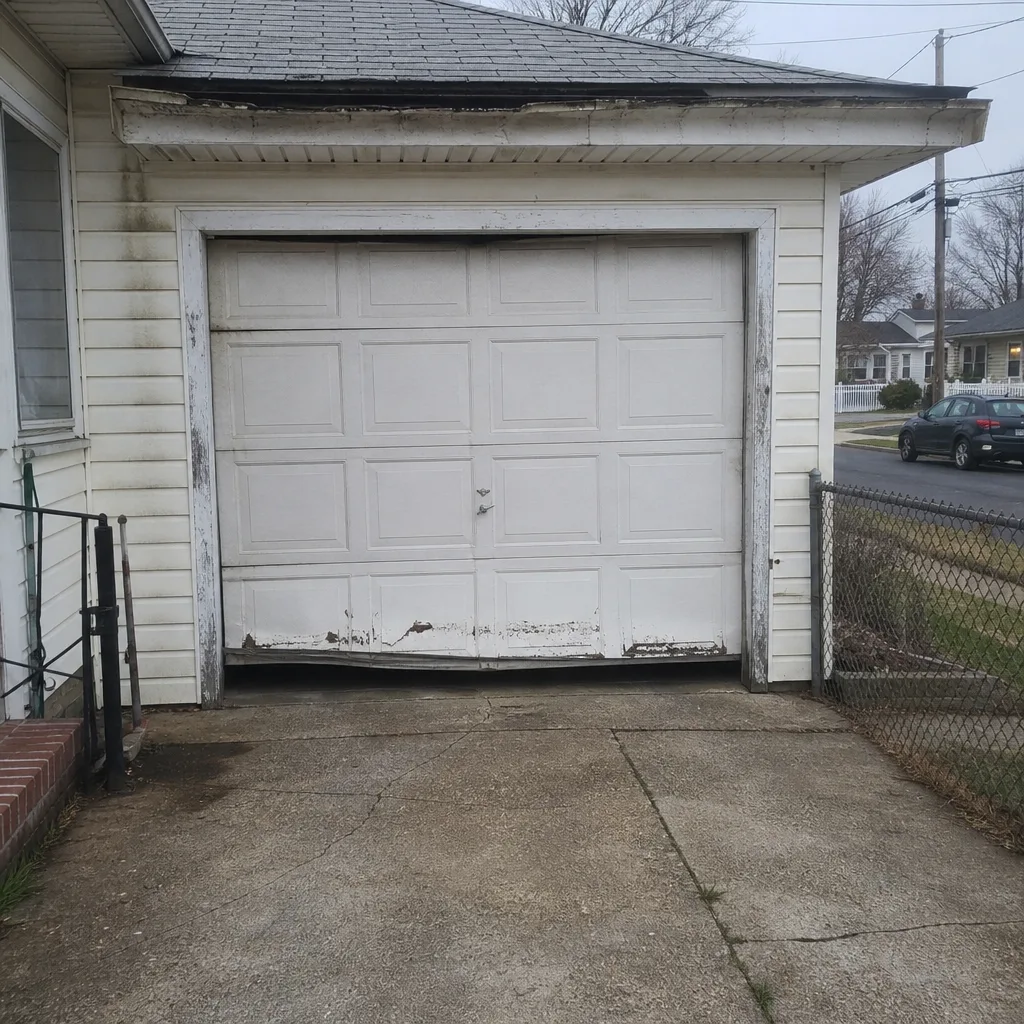
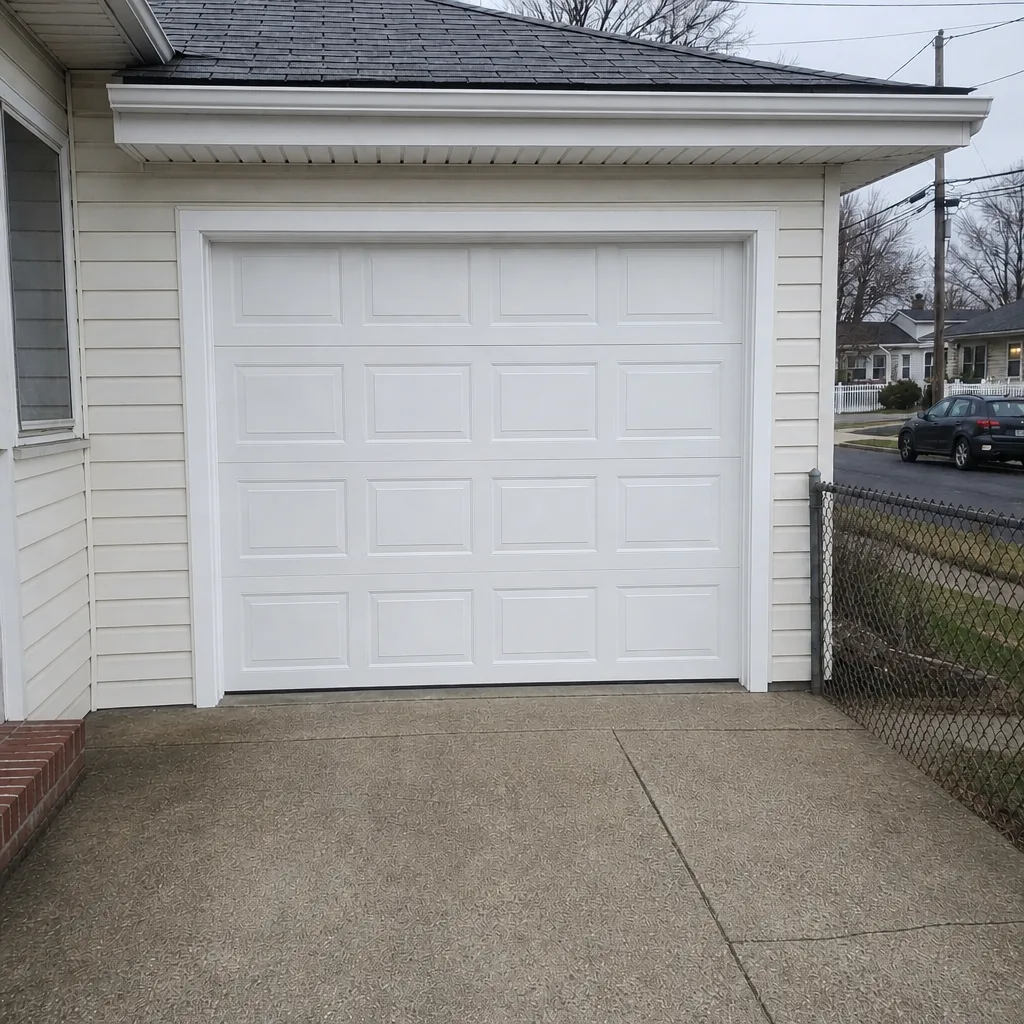
See the difference
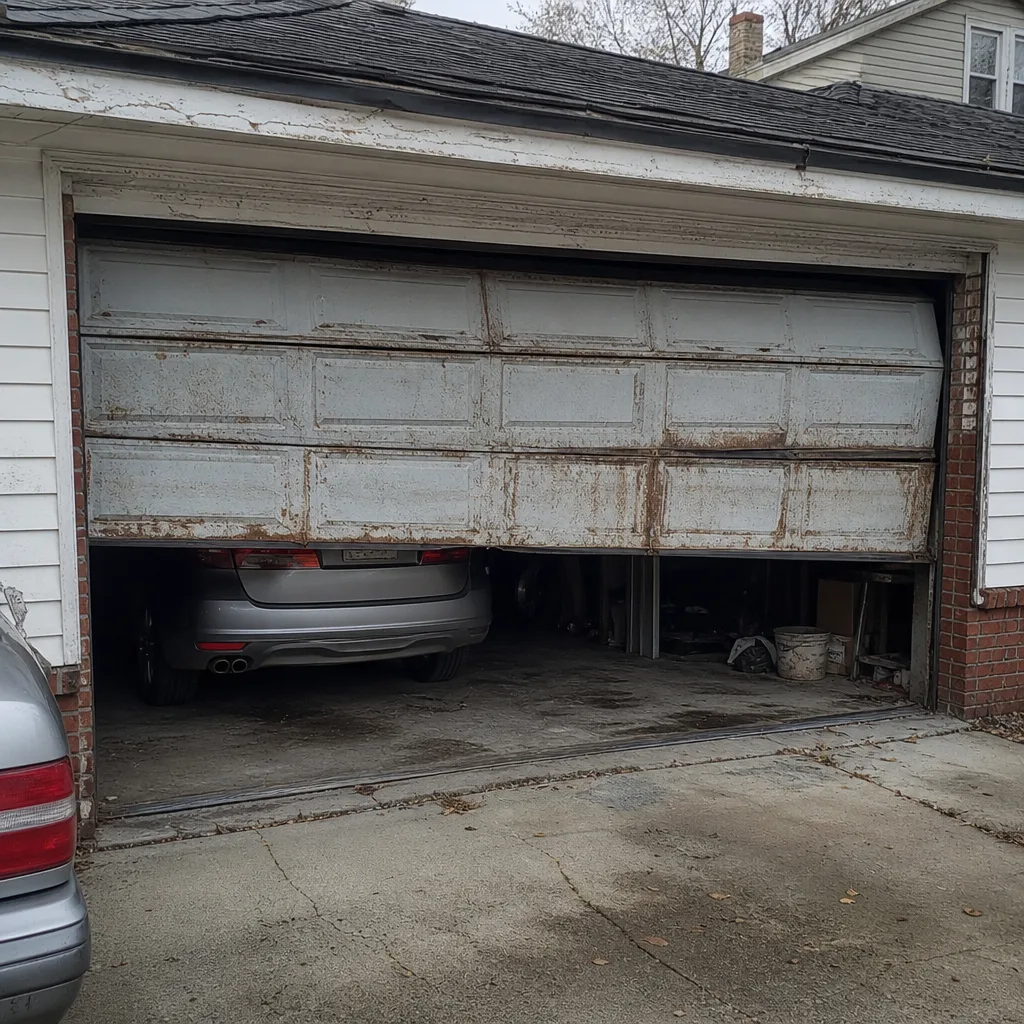 Before
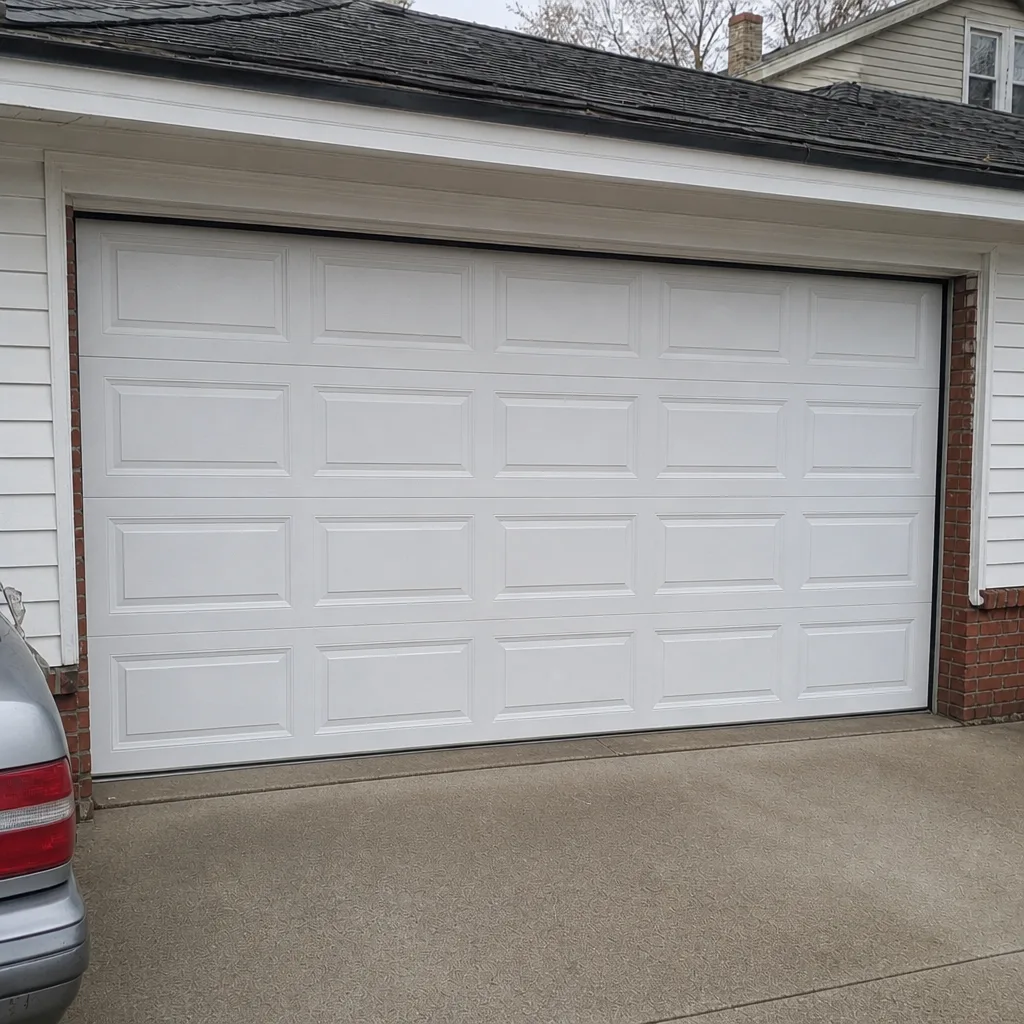 After
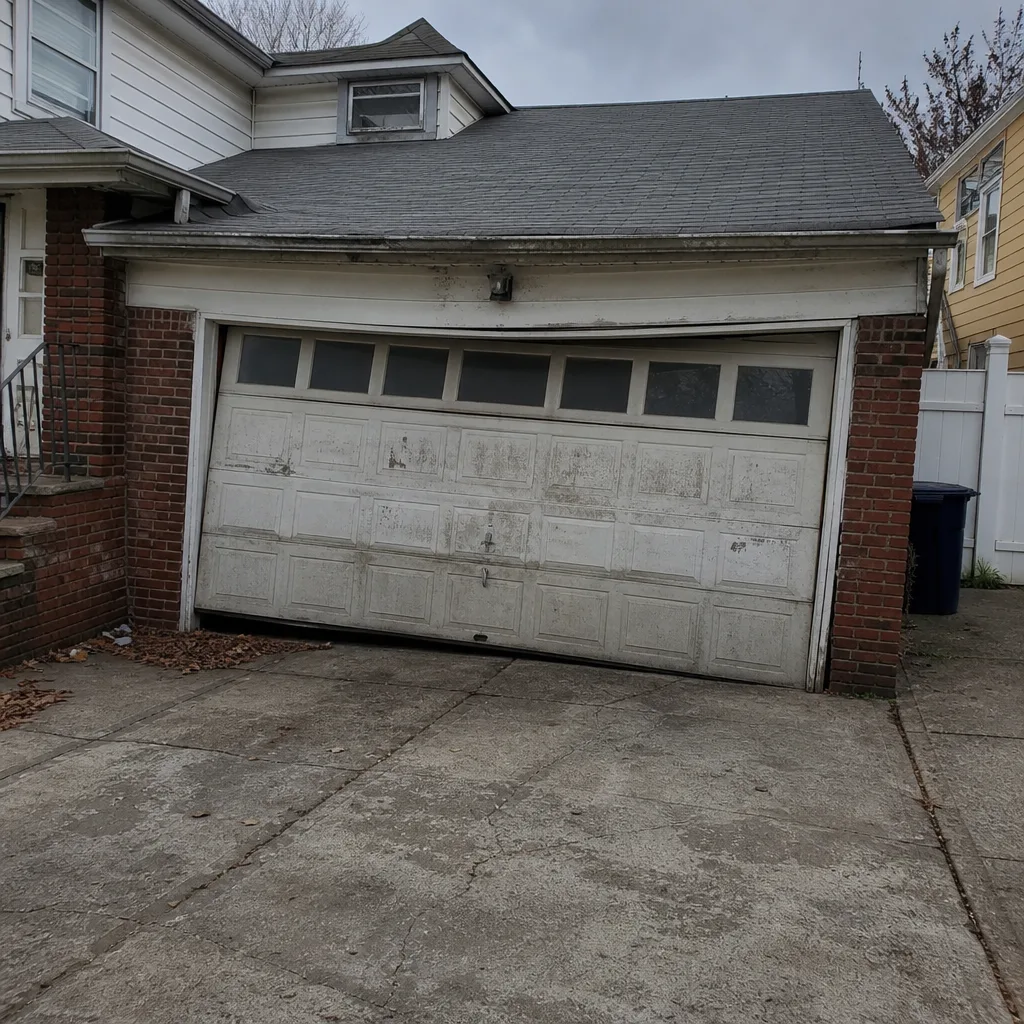 Before
 After
 Before
 After